
As promised, let's go on with my MOUNTFIELD Dollhouse. I tried to give it kind of a shabby chic look. I always had my own style when it came to furnish and decorate my dollhouses, just take a look at my Grosvenor Hall and you know what you mean.
I'm not afraid of colors and you see that not only in real life but also in my miniature world.
For this house, I made a lot of items myself, details about those may be found in my DIY section here on my blog.
Feel free to get in touch if you have any questions about how I make my DIY items, I'll be happy to share
So let's go and start with the dressing room, the dream of every woman, isn't it ? I mean, there are only 2 people living in this house, so no need for 2 bedrooms, therefore I decided to make the second one a dressing room where the lady of the house can store all her treasures, mostly shoe boxes of ocurse :) :)

Once we'll go further with the interior of my Mountfield, you'll see that I used the same color to paint the walls all through the house. It's a mix of white and taupe (I'm not sure that this is the correct word, looked it up on google translator). Anyway, this color allows to set accents with pieces of wall paper or any other wall decoration and use any color I like, from light to dark, very bright, whatever comes to mind.

I made these shoe boxes myself, because I wanted something special. More detailed pictures will be posted soon in the DIY section.

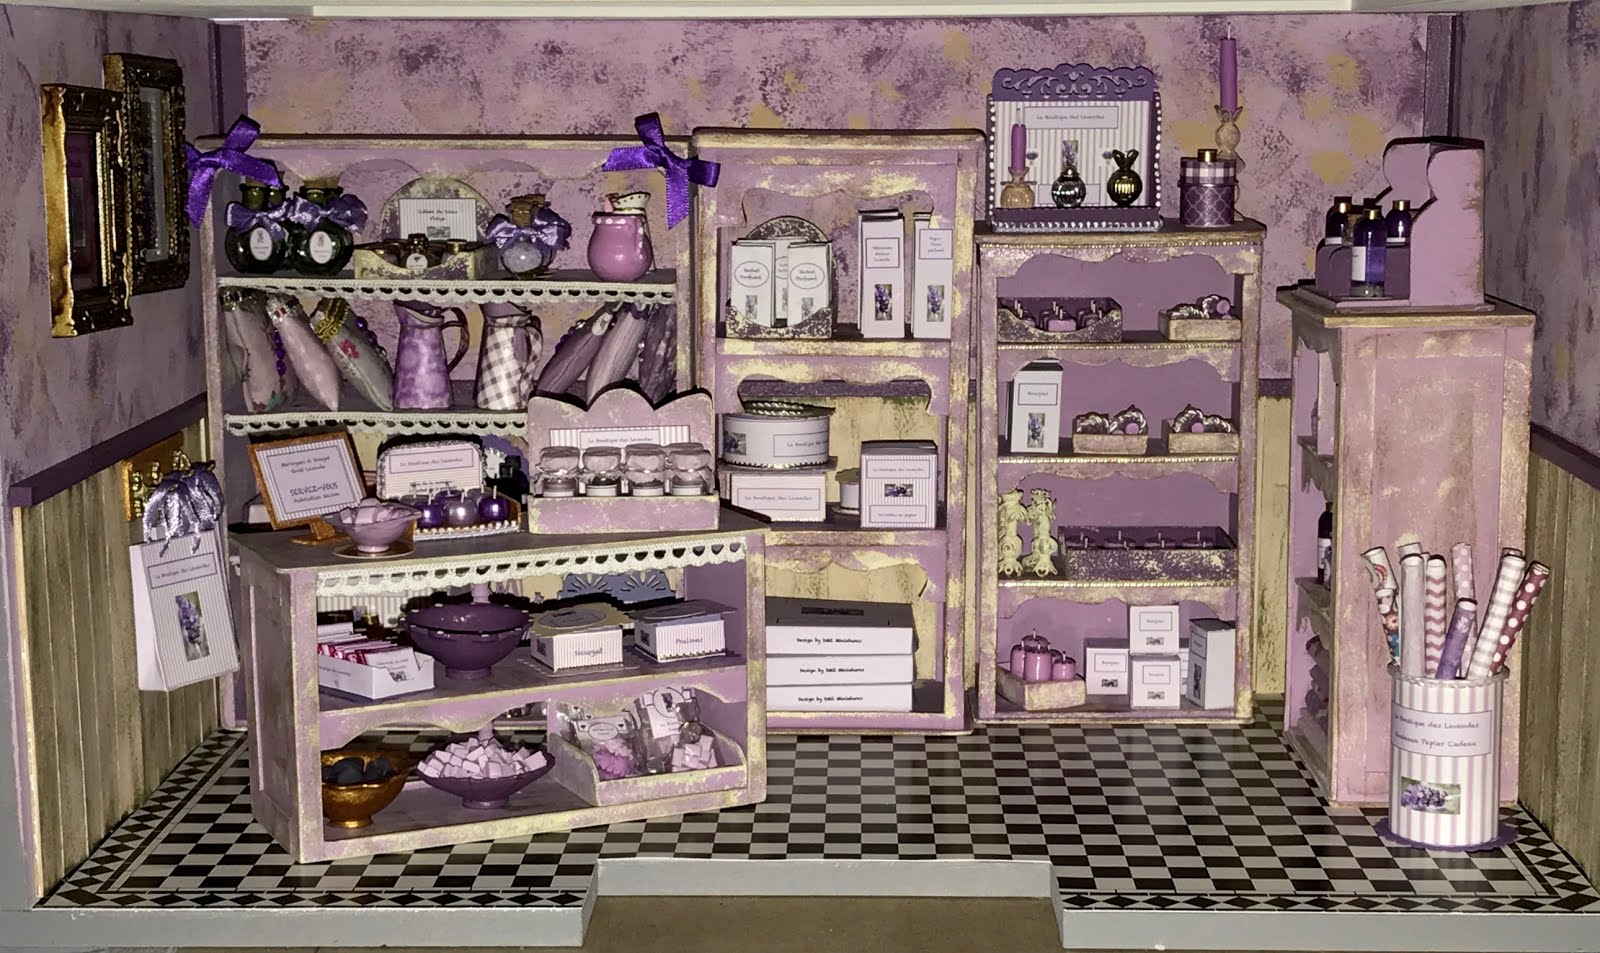
Here's a nice example of what I meant by playing with colors. I used a piece of striped wallpaper and glued this part of the wall. Since the wallpaper stirpes are pink and grey, I painted the furniture to match. I made a little basket (bottom right in the picture) and also the soap bottles and the towels.
Please don't look at the part above the door, as I said, the house isn't completely finished and the cornice hasn't been glued yet. I'm in the painting process right now and then comes the fun part : cutting the cornice pieces, which is really fun when it comes to the corners 😕😕

I always make all my paintings myself ..... which doesn't mean I paint them 😊😊 no no no no ....
I just look for pictures I like on the Internet (a good source is "Allposters.com"), downsize them on my computer and print them. I used Paris motives here, since the lady of the house loves that City and buys all her shoes there 😍😎
To print them, I use matt or glossy photo paper, which is easier to handle than simple white paper, especially when you glue the picture onto a piece of cardboard or wood, the glue wouldn't show through when you use a thicker paper. The frames are made of wood. Again, cutting corners, lol .... but these are a little easier to handle than the cornice

I made another round box which has been placed on top of the wardrobe ..... always useful to store "things" in a lady's dressing room
NEXT UP ....... the bedroom, so stay tuned
see ya
No comments:
Post a Comment